前回の第13章では、XANA:Builderでオブジェクトの移動(Transport)について学びました。(まだ読まれてない方はこちら↓のリンクをクリックして読んでみてね)
第10章から新しく追加された「ゲーム機能」についての説明をスタートしました。
今回は、前回に引き続きオブジェクトの移動について説明していきたいと思います。

今回の講師を担当するまやです。
よろしくお願いします。

まやちゃん、よろしく!!!

じゃ、早速前回のおさらいを軽くスタートするよ!
オブジェクトの移動とは?
まず、ゲーム機能を使ったオブジェクトの移動とはどのようなものでしょう?
現在オブジェクトの移動には以下の2種類があります。
- Transport
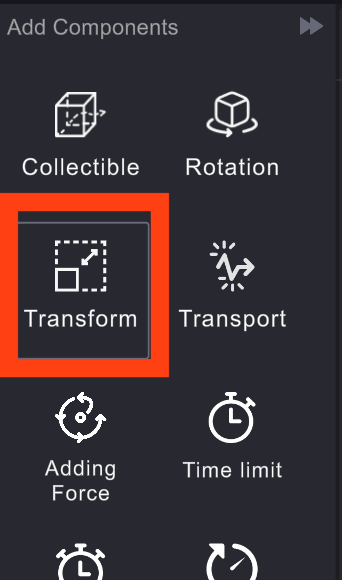
- Transform ←今回はこちらを学んでいくよ。

第13章ではTransportを使った移動を学んだよね?

そうだね!
だから今回はTransformでの移動を学んでいくよ!

はいっ!
Transform
Transformとはどういった機能でしょうか。
Transformには以下の3つの機能が入っています。
- Piston Move → 指定した2点間をオブジェクトを移動させる
- Scale → 配置した場所でオブジェクトを拡大縮小する
- Tilt → 指定した場所で傾ける

ん??Transformには3種類あるの??

この3つを組みあせて移動をさせることができるんだよ。

組み合わせ!!!
可能性が広がるね!!!
で、今回はこの3つのどこを説明をするの??

今回は、オブジェクトの「移動」の勉強なので
「Piston Move」について解説していくよ。
設定してみよう
こちらが↓Transformの設定画面です。
Transformを選択すると↓のような設定画面が表示されます。
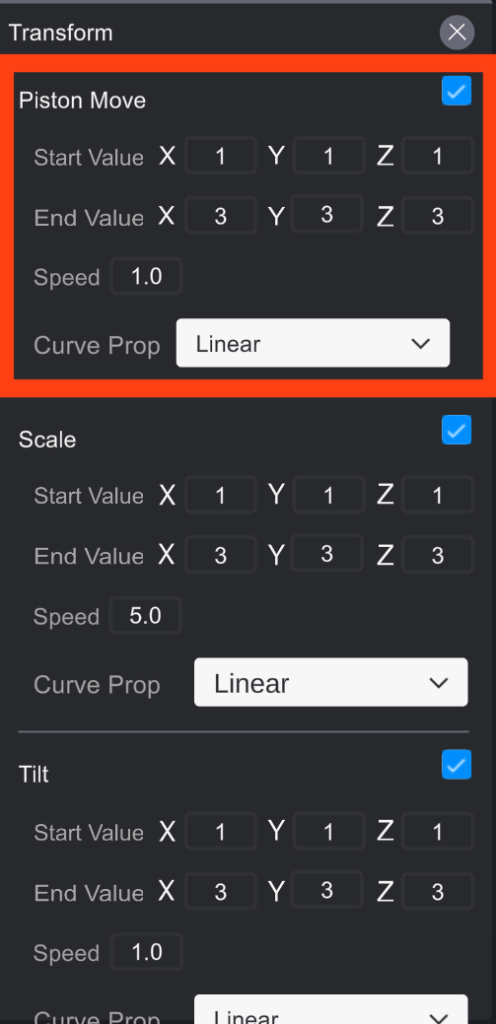
使用したい機能にチェックを入れて設定をします。
今回は「Piston Move」のみにチェックしてみましょう。
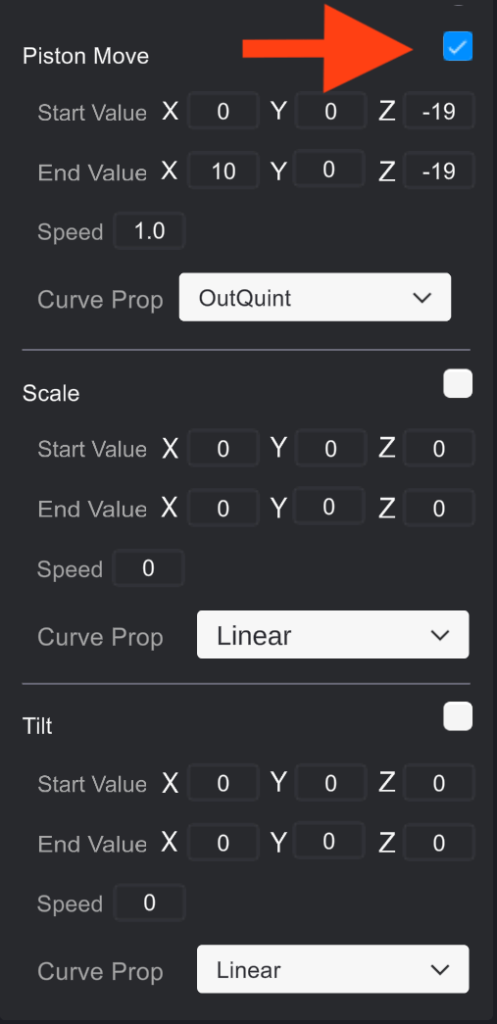

チェックいれたところだけが有効になるので、不要なところはチェックをはずしてね。

じゃ、今回は「Piston Move」にだけチェックを入れて、残り2つは外すね!
では、実際に設定をしていきましょう。
スタート地点と折り返し地点を決める
2点間を移動させるための「スタート地点」と「折り返し地点」の設定を行いたいと思います。
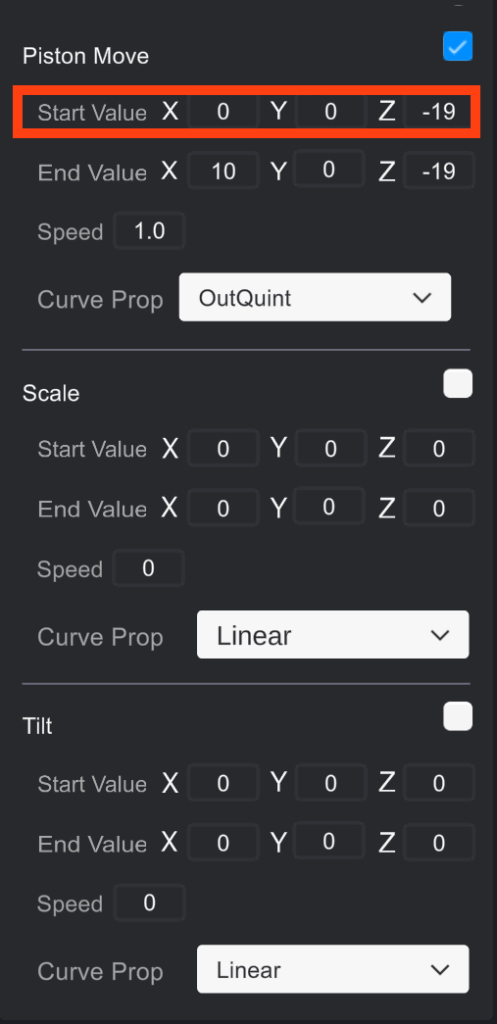
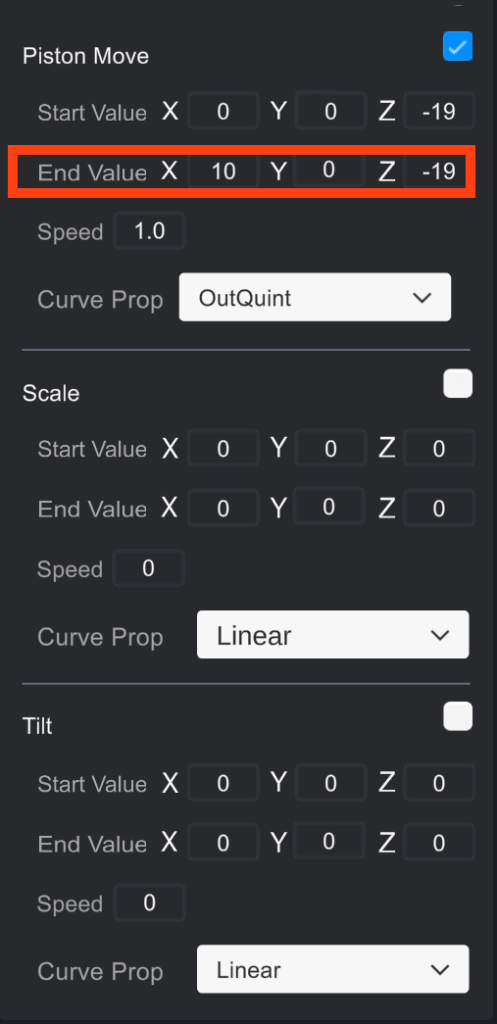
Start Valueでスタート地点の座標を設定、End Valueで折り返し地点の座標を設定します。

これでStartとEndの間をオブジェクトが動くのね。

そうだね。そしてオブジェクトが動くSpeedを設定しよう。
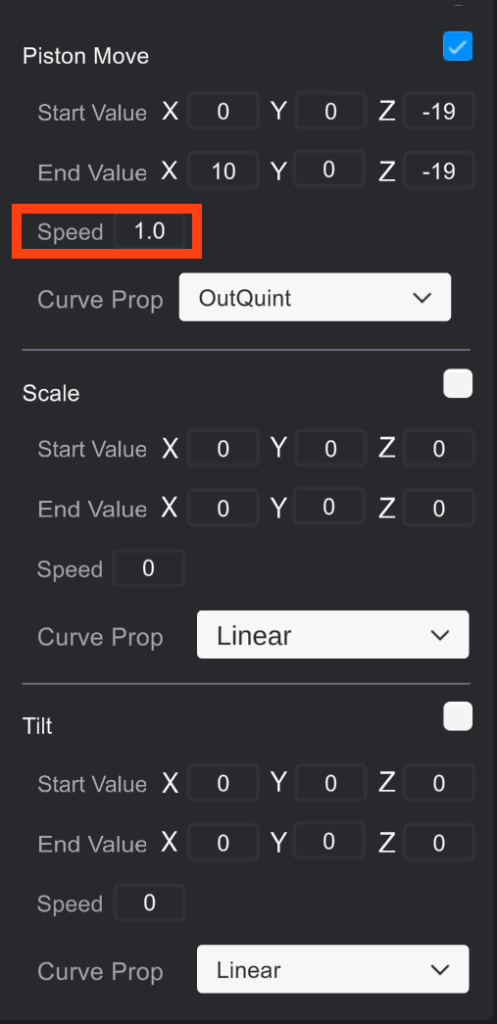

Speedを設定したあとは「Curve Prop」の設定を行いましょう!
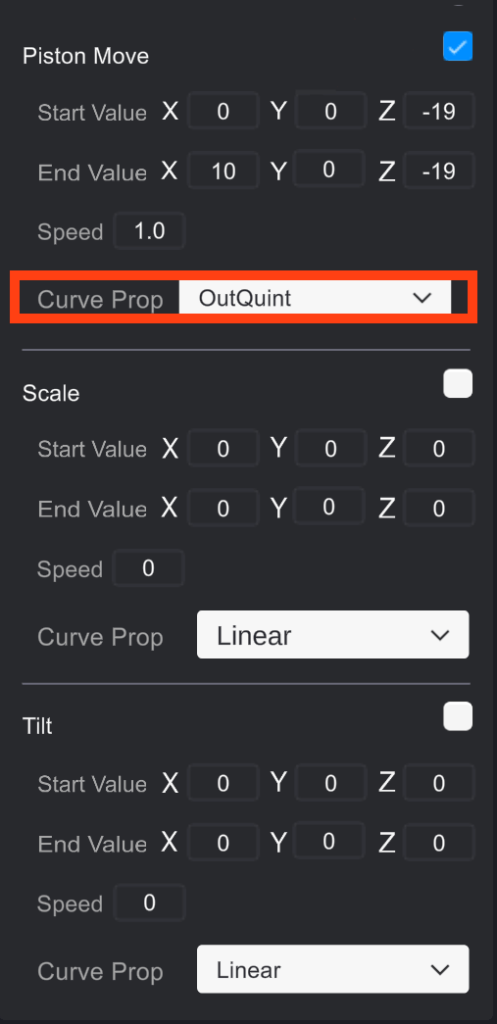

Curve Prop!?!?
何、それ??

とりあえずは下の説明と動画を見てみよう!!!
Curve Prop
指定した2点間でオブジェクトを移動する際に、どのように移動するかというのを決定するのが、この「Curve Prop」です。(左側1〜7まで表示。右側4〜10まで表示)
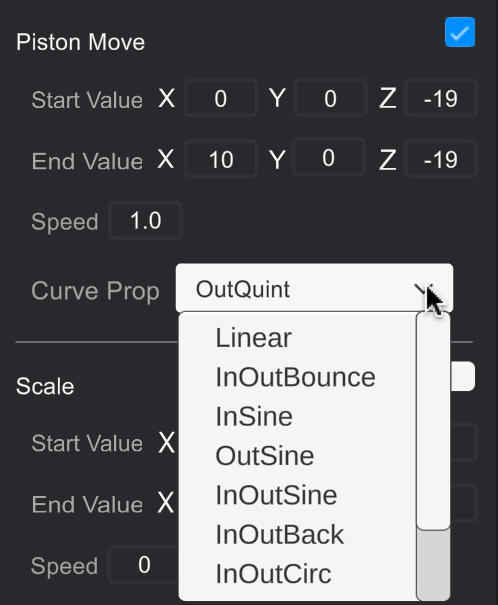
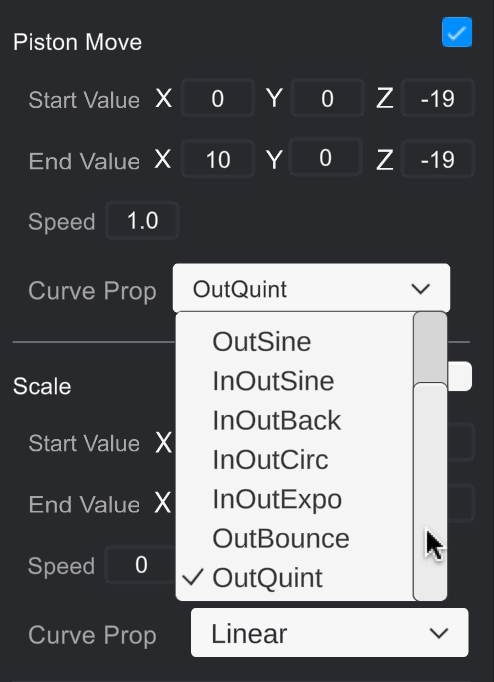
実際どのように動くのかみてみましょう。
<例>
スタート地点のx座標:0、折り返し地点のx座標:10、スピードを1.0で同時に動かしてみる

えええええ!!!
たしかに同じ場所から動き出して同じ場所で折り返しているのに、
動きが全然違う!!!

直線的に動くもの、すこし途中でスピードが変わるものなど色々あるね。
実際のゲームを作るときに、どのように動かしたいのかというのをよく考えて
「Curve Prop」を設定してみてね。
いかがでしたでしょうか。
今回はオブジェクトの移動の「Transform」について学んでいきました。
次回は、同じTransformの中の「拡大・縮小」について学んでいきたいと思います。
